Transforming Your Home Studio: Tips from Indie Sound Designers
Embracing the Unconventional: Everyday Items as Instruments
The world of indie music thrives on innovation and creativity, often pushing boundaries to create unique soundscapes. One of the most fascinating aspects of this movement is the use of everyday objects as musical instruments. In their quest for authenticity and originality, indie sound designers have discovered that some of the best instruments are hiding in plain sight.
Take, for instance, the use of a glass bottle. When partially filled with water, it can be blown into to produce a variety of pitches, much like a flute. By changing the water level, you alter the pitch, allowing for melodic experimentation. Similarly, a kitchen whisk can double as a percussion instrument when struck against surfaces of varying textures and materials.
The Value of Found Sounds
Incorporating found sounds into your music can add depth and context to your compositions. Consider recording the rhythmic clatter of train tracks or the soft rustle of leaves. These sounds can be layered with traditional instruments to create an immersive auditory experience.
- Field Recorder: Invest in a good field recorder to capture high-quality ambient sounds wherever you go. Models like the Zoom H4n Pro are popular among indie musicians.
- Smartphone Apps: Use apps like Hindenburg Field Recorder or Voice Record Pro to record spontaneous sounds on the go.
Essential Tools for Your Home Studio
Creating a conducive environment for music production in your home requires thoughtful consideration and investment. Here’s a checklist of essentials to transform your living space into a creative hub:
1. Acoustic Treatment
The acoustic quality of your room significantly impacts the sound of your recordings. Begin by addressing the basics:
- Bass Traps: These are crucial for absorbing low-frequency sounds that tend to build up in corners.
- Acoustic Panels: Place these strategically to minimize reflections and echoes. They are available in various sizes and thicknesses to suit different needs.
- Diffusers: These help scatter sound waves, providing a balanced acoustic environment.
An optimal setup would balance absorption and diffusion to ensure clarity without making the space sound unnaturally dead.
2. Essential Equipment
While the list could be exhaustive, there are certain pieces of equipment that form the backbone of any home studio:
- Digital Audio Workstation (DAW): Software like Ableton Live, Logic Pro X, or FL Studio offer robust platforms for recording, editing, and producing music.
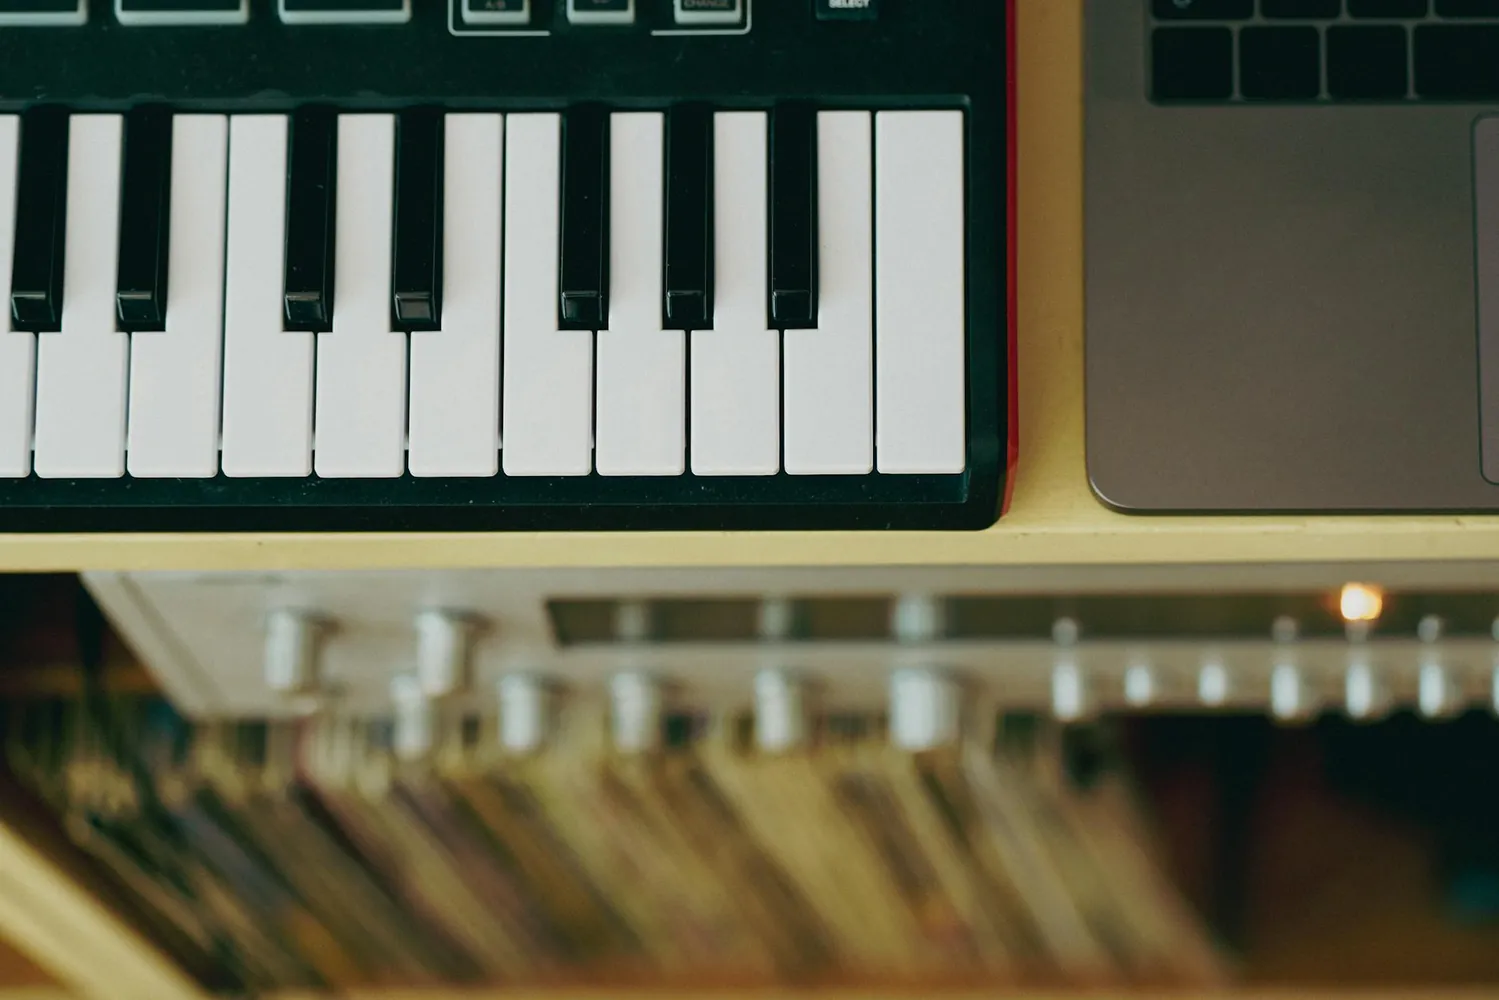
- MIDI Controller: A versatile tool for crafting melodies, beats, and more. The Akai MPK Mini is a popular choice due to its portability and functionality.
- Audio Interface: This device acts as a bridge between your instruments/microphones and computer. Options like the Focusrite Scarlett 2i2 provide high-quality audio input/output.
3. Microphones
Your choice of microphone can define your sound’s quality and character:
- Condenser Microphones: Ideal for capturing vocals and acoustic instruments with precision. The Audio-Technica AT2020 is an affordable option with professional-grade performance.
- Dynamic Microphones: Durable and excellent for capturing louder sources or live performances. The Shure SM58 remains a legendary choice among musicians.
Tuning Your Space for Creativity
A home studio should inspire creativity, not just facilitate technical production. Consider these tips to maintain an inviting atmosphere:
Create Zones
Delineate different areas within your studio space for specific activities—recording, editing, mixing, etc. This organization helps in maintaining focus and streamlining workflow.
Incorporate Nature
Add plants to introduce calming elements and improve air quality. Studies suggest that exposure to greenery can enhance creativity by up to 15%.
The Workflow: From Idea to Production
Let’s walk through a typical workflow that indie sound designers might follow, from conceptualizing ideas to final production:
I. Ideation and Exploration
The initial phase is all about brainstorming and collecting ideas. Engage in jam sessions, listen to diverse genres, or experiment with unconventional sounds.
- Create mood boards using visual tools like Pinterest to capture thematic inspirations.
II. Composition
Once you have a pool of ideas, start structuring them into compositions:
- Simplify by laying down a basic chord progression or beat as a foundation.
- Add layers progressively, experimenting with timbres and dynamics.
III. Recording
This stage involves capturing live performances or programming digital elements:
- Record multiple takes to provide options during editing.
- Pay attention to gain staging and levels to avoid distortion.
IV. Mixing
The mixing process shapes your raw recordings into polished tracks:
- Start by balancing volumes and panning instruments to create space.
- Add EQ to carve out frequencies and dynamics processing (compression) for consistency.
Aim for clarity and coherence without over-processing; remember that less is often more.
V. Mastering
The final step prepares your track for distribution:
- Add subtle enhancements like stereo widening and final EQ adjustments.
- Aim for industry-standard loudness levels using meters and limiters.
Cultivating a Community of Creators
No creative journey is complete in isolation. Engaging with fellow musicians not only fosters growth but also provides fresh perspectives:
- Create or join online forums and local meetups focused on indie music production.
- Collaborate on projects to diversify your skill set and creative approach.
A strong community offers support and feedback, crucial components for any artist's development.